> For the complete documentation index, see [llms.txt](https://docs.appmachine.com/llms.txt). Markdown versions of documentation pages are available by appending `.md` to page URLs; this page is available as [Markdown](https://docs.appmachine.com/app-details/admin-cms.md).
# Admin CMS
By adding the **Admin CMS block** to your app, you can provide your users/customers with editing permissions based on the limitations that you set. This will allow them to d**irectly add, modify, or remove content** from Data Lists and Information Blocks **within the app** without the need to open the designer.
Notes:
* To access the Admin block you will need an **Agency plan or higher**.
* This is the **first version** of the Admin CMS. We are working on fine-tuning and improvements.
### How to get Started
#### Before you start with the Admin CMS
1. Go to [App Users ](/app-details/user-management.md)- Login Settings to enable User Registration.
*The Admin Feature only works if you have **User Login enabled** and have Users assigned to the **Group(s)** you want to give access to the Admin CMS.*
Enable User Registration
2. Go to the **Users** tab to add groups, If you want multiple levels of access to the Admin CMS, you have to create multiple groups.\
\
\&#xNAN;*Important note: You should always add yourself to all groups as well, so you can check the correct settings in the AppMachine Previewer.*
3. In this example, we'll create an **Admin** group. This group of your app users will be able to edit their app with the Admin CMS.
4. **Assign Users** to the Admin group.\
5. Go to the app editor and add the **Admin** block
### Admin CMS Options/Setup
Now that you've already added the correct users to the **User Group** that you want to give access to the **Admin CMS**, it's time to explore the functions and set up feature.
Admin CMS after set up
*Note: You will first see this message on the screen. When you pick a user group that you are added to, and log in to the designer this will disappear. Just follow the steps below to set up your Admin CMS.*

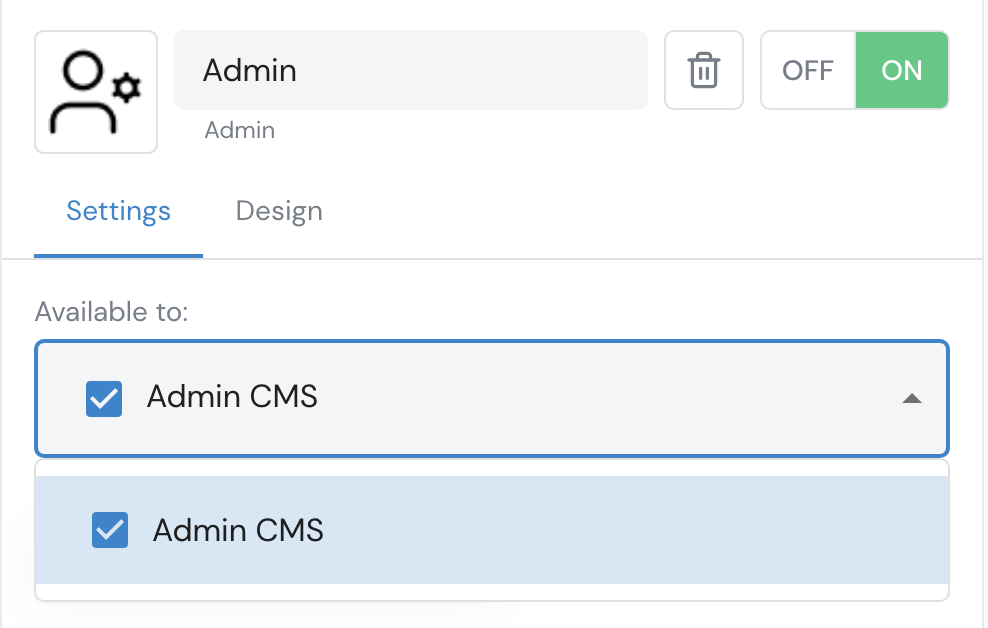
1. **Set User Groups** - Select a group from the dropdown. This will be the group for which you set up the Admin CMS. You can select multiple groups at once if you want to give them the same editing access.
Example of a User Group in the selector
2. **Login to the previewer** with the account you have added to the user group. If you aren't logged in, you will not be able to see the preview of the settings.
3. Choose **where** users will see and be able to access the Admin CMS
Show Admin block in Account or Main Menu
1. **Show in Account** - will show the Admin feature in the account options only
2. **Show in Main Menu** will show the Admin block in the menu of your app
4. Add a **description** for your customers to clarify the feature or instruct them what to do.
Admin CMS description field
5. **Tables**
1. **Label** - edit the label
2. **Set permissions**; which data tables can the users in this group edit
Settings for Tables
6. **Blocks**
1. **Label** - Edit the label
2. **Warning** - We added this because the user will only be able to edit Information blocks. CMS lists and other blocks can not be edited in the Admin CMS. You can adjust the warning to your liking.
3. **Set permissions**; which information blocks can the users in this group edit
Block/Screens settings
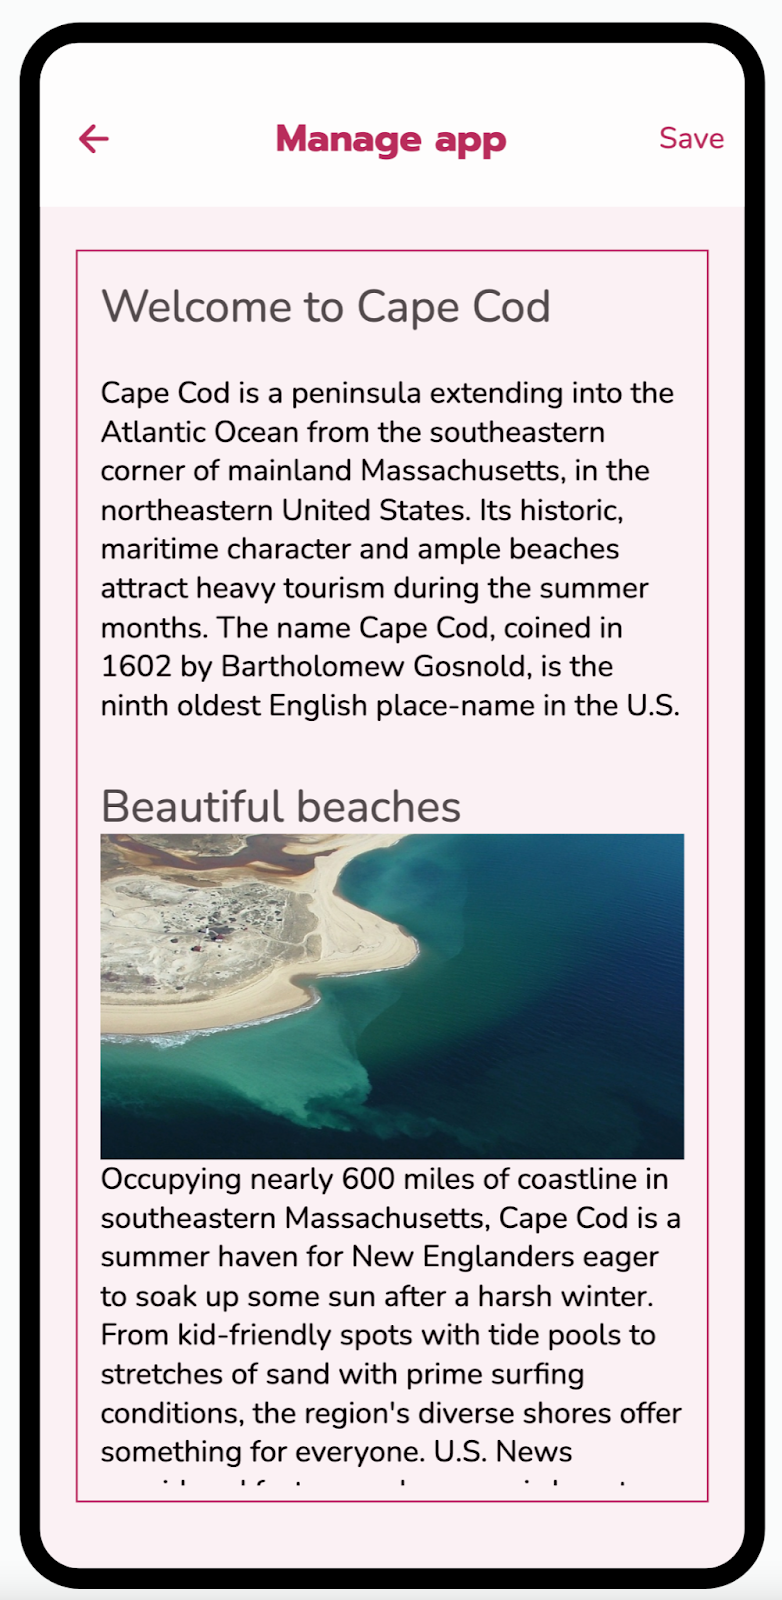
### After Setup/How to use
1. If the **user is logged in** and **assigned to a group** with editing permissions, they will see this screen:\

2. Clicking on one of the **Data** items will open the list of Data entries. Select one to edit\

3. Clicking on an **Information** block will show the whole block in editing mode\
4. Works in **Progressive Web Apps (PWA)** as well.
5. Trigger content update **only needed for changes in Information blocks**. Data changes are updated automatically.